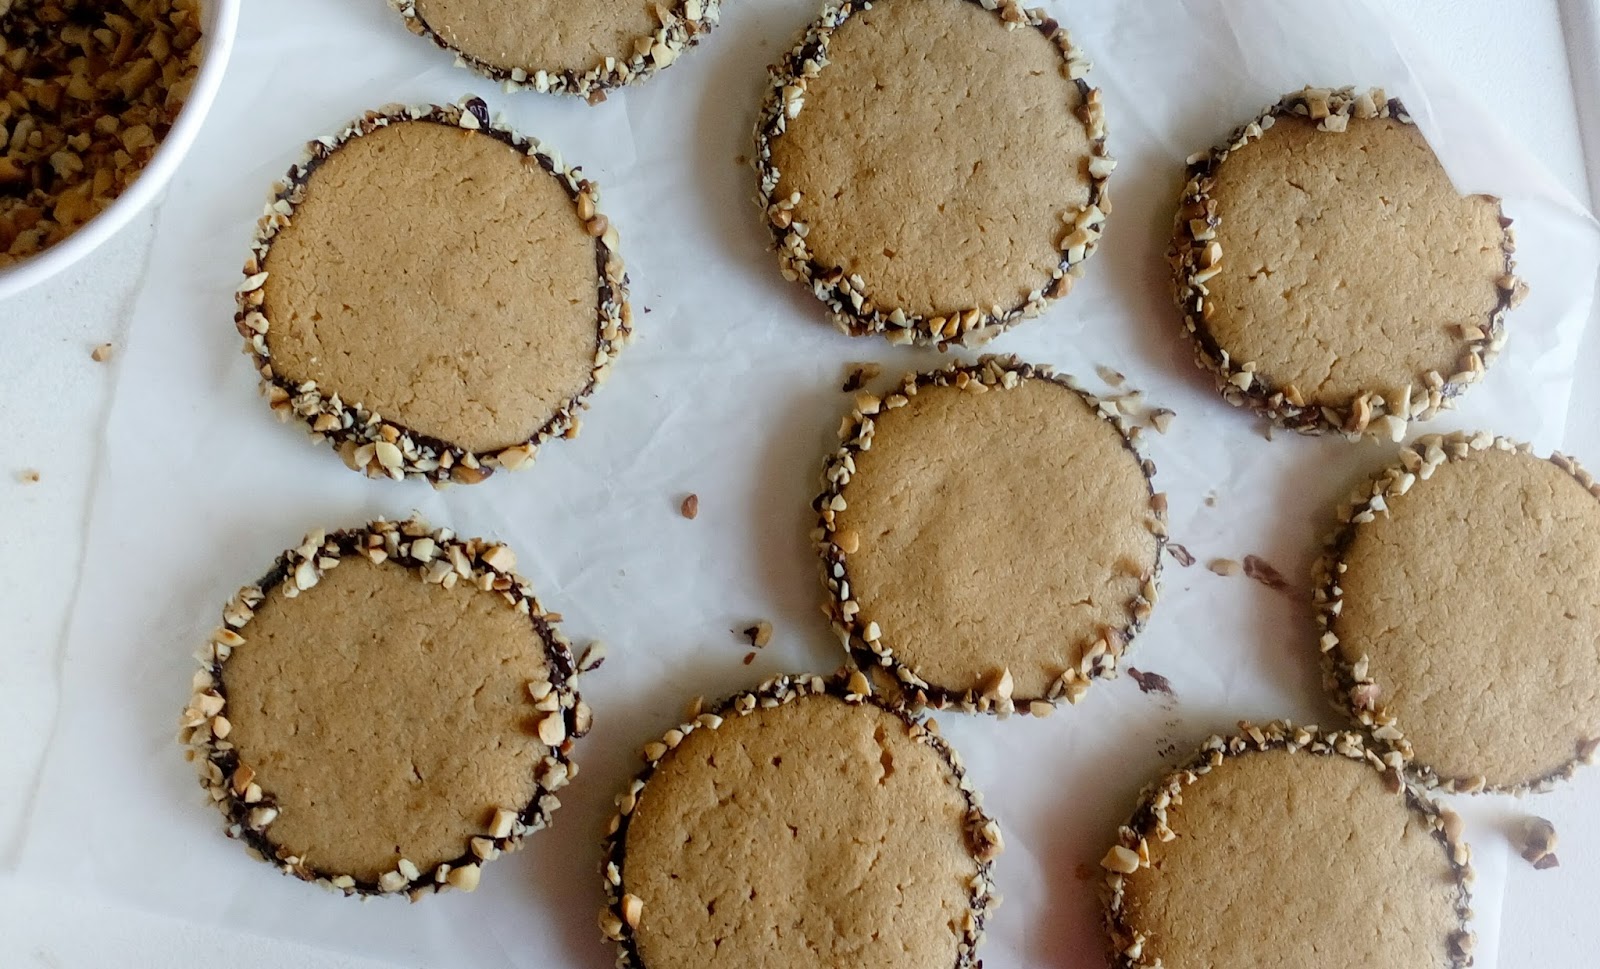
Peanut Butter and Chocolate Cookies - Crispy and melt in your mouth cookies, made even more addictive with chocolate and toasted nuts!!!
Unlike the thick and soft Chocolate Chip Cookies that I made earlier, these cookies are crispy, almost like the Shortbread cookie but with full of peanut butter flavour!!! They just melt in your mouth.
The Chocolate coating and the toasted chopped nuts just complete this cookie goodness. The nuts gives us an extra crunch and the chocolate - it just makes anything better right?
There is just enough chocolate to take things up a notch without overpowering the peanut butter flavour. But don't skip it, its just one additional step but it makes the cookie totally irresistible!!!
My daughters totally enjoyed eating these cookies. And what more? Even SS ( who is not a fan of baked goods! quite my opposite.. ) took it with his lunch!! So guys, give these cookies a try and let me know how it turned out.
And one more important thing - cookies with nuts tend to burn faster at the bottom. So, while baking cookies with nuts in them, make sure you use a heavy cookie sheet like this one . Or stack 2 cookie sheets while baking ( but do keep an eye on them ).

Prep time: 4 Cook time:
Total time: 5Yield: 35 to 38 cookies
Ingredients:
Flour: 1 and 2/3 cups
Baking soda: 1 tsp
Salt: 1/4 tsp
Softened Butter : 1/2 cup ( 113 g )
Caster Sugar: 1/2 cup
Brown Sugar ( packed ): 1/3 cup
Egg: 1
Vanilla Essence: 3/4 tsp
Smooth Peanut Butter: 1/2 cup + 2 tbsp ( homemade or store brought )
For Decorating:
Dark Chocolate: 150 g ( I used Morde Dark Compound )
Roasted and chopped peanuts: 1 and 1/4 cup
Recipe Source: leitesculinaria
METHOD:
1) Mix together flour, baking soda and salt.
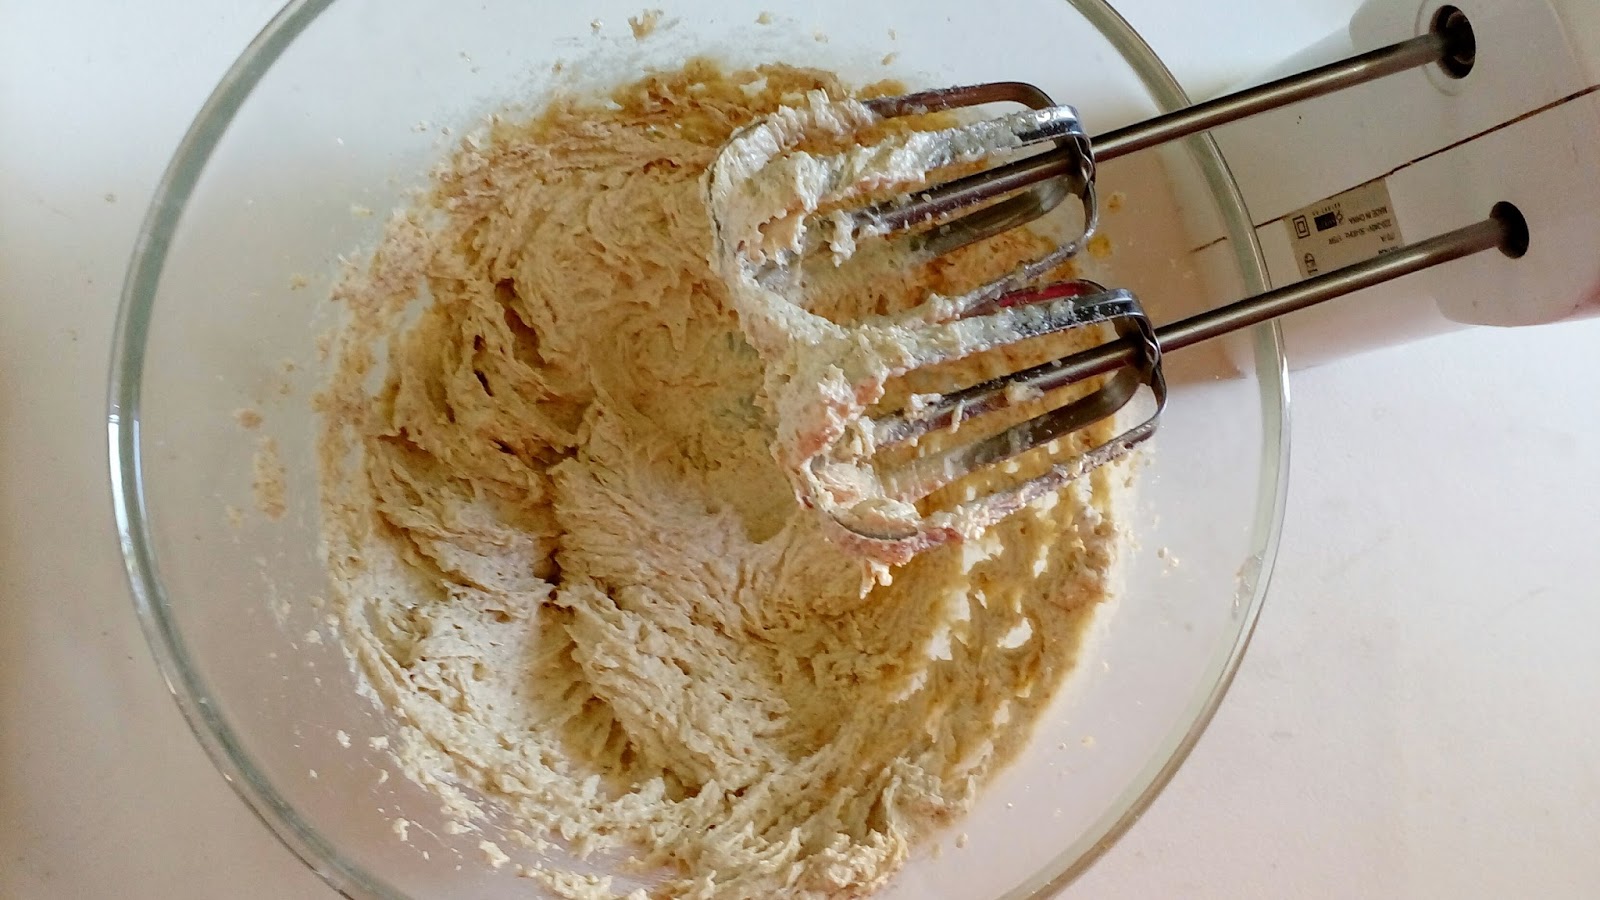
2) In a separate bowl, beat together butter, caster sugar and brown sugar for about a minute. Add the egg and vanilla essence and beat until combined.
3) Add the peanut butter and mix until incorporated.
4) Add the dry ingredients prepared in step 1 and beat until just combined. Finish mixing with a spatula ( don't over work the dough as it will yield harder cookies ). The dough will be very sticky.
5) Divide the dough into two parts ( this just makes them easier to handle ). Wrap them in a cling film and refrigerate for about an hour or until it is firm enough to roll ( you can also place it in the freezer to speed up the process ).
Take the dough out from the refrigerator and place it on a parchment paper. Place a cling film over it and roll with a rolling pin to a thickness of about 1/4 inch.
6) If your dough becomes soft, put it in the freezer for 5 minutes before cutting with cookie cutter. Remove the cling film and cut the cookies with your favorite cookie cutter ( here I used a 2 inch round cookie cutter ). Re roll the scraps and repeat the same procedure ( just take care not to over work with the scraps ).
Line a cookie sheet with parchment paper.
7) Transfer the cookies to the cookie sheet. Leave enough space between cookies as they will spread a little when baking. Place the cookie sheet in the freezer for 5 to 10 minutes before baking.
Meanwhile preheat the oven at 180 C for 10 minutes. Bake the cookies at 180 C for 10 to 12 minutes or until the edges start to brown ( the cookies will be soft when taken out from the oven but will crisp up as they cool down ). Let the cookies cool in the cookie sheet for 2 minutes before transferring them to a wire rack to cool completely.
Take some chopped dark chocolate in a bowl.
8) Heat the chocolate in a double boiler until it is fully melted ( just place it over a pan of simmering water. You can also refer here for stepwise photos ). Take some roasted and chopped peanuts in a separate bowl.
Ok, now time to decorate! ( the cookies should be cooled completely to room temperature before coating them with chocolate ) First dip the edge of the cookie in the melted chocolate.
9) Then dip the cookie in toasted and chopped peanuts. Place it on a parchment paper until it is set. Repeat with all the cookies ( my daughter helping me in decorating cookies :) )
Unlike the thick and soft Chocolate Chip Cookies that I made earlier, these cookies are crispy, almost like the Shortbread cookie but with full of peanut butter flavour!!! They just melt in your mouth.
The Chocolate coating and the toasted chopped nuts just complete this cookie goodness. The nuts gives us an extra crunch and the chocolate - it just makes anything better right?
There is just enough chocolate to take things up a notch without overpowering the peanut butter flavour. But don't skip it, its just one additional step but it makes the cookie totally irresistible!!!
My daughters totally enjoyed eating these cookies. And what more? Even SS ( who is not a fan of baked goods! quite my opposite.. ) took it with his lunch!! So guys, give these cookies a try and let me know how it turned out.
And one more important thing - cookies with nuts tend to burn faster at the bottom. So, while baking cookies with nuts in them, make sure you use a heavy cookie sheet like this one

Peanut Butter and Chocolate Cookies
Crispy Peanut butter cookies dipped in chocolate and chopped peanuts!!!Prep time: 4 Cook time:
Total time: 5Yield: 35 to 38 cookies
Ingredients:
Flour: 1 and 2/3 cups
Baking soda: 1 tsp
Salt: 1/4 tsp
Softened Butter : 1/2 cup ( 113 g )
Caster Sugar: 1/2 cup
Brown Sugar ( packed ): 1/3 cup
Egg: 1
Vanilla Essence: 3/4 tsp
Smooth Peanut Butter: 1/2 cup + 2 tbsp ( homemade or store brought )
For Decorating:
Dark Chocolate: 150 g ( I used Morde Dark Compound )
Roasted and chopped peanuts: 1 and 1/4 cup
Recipe Source: leitesculinaria
METHOD:
1) Mix together flour, baking soda and salt.
 |
 |
 |
2) In a separate bowl, beat together butter, caster sugar and brown sugar for about a minute. Add the egg and vanilla essence and beat until combined.
 |
 |
 |
3) Add the peanut butter and mix until incorporated.
 |
 |
 |
4) Add the dry ingredients prepared in step 1 and beat until just combined. Finish mixing with a spatula ( don't over work the dough as it will yield harder cookies ). The dough will be very sticky.
 |
 |
 |
5) Divide the dough into two parts ( this just makes them easier to handle ). Wrap them in a cling film and refrigerate for about an hour or until it is firm enough to roll ( you can also place it in the freezer to speed up the process ).
Take the dough out from the refrigerator and place it on a parchment paper. Place a cling film over it and roll with a rolling pin to a thickness of about 1/4 inch.
 |
 |
 |
6) If your dough becomes soft, put it in the freezer for 5 minutes before cutting with cookie cutter. Remove the cling film and cut the cookies with your favorite cookie cutter ( here I used a 2 inch round cookie cutter ). Re roll the scraps and repeat the same procedure ( just take care not to over work with the scraps ).
Line a cookie sheet with parchment paper.
 |
 |
 |
7) Transfer the cookies to the cookie sheet. Leave enough space between cookies as they will spread a little when baking. Place the cookie sheet in the freezer for 5 to 10 minutes before baking.
Meanwhile preheat the oven at 180 C for 10 minutes. Bake the cookies at 180 C for 10 to 12 minutes or until the edges start to brown ( the cookies will be soft when taken out from the oven but will crisp up as they cool down ). Let the cookies cool in the cookie sheet for 2 minutes before transferring them to a wire rack to cool completely.
Take some chopped dark chocolate in a bowl.
 |
 |
 |
8) Heat the chocolate in a double boiler until it is fully melted ( just place it over a pan of simmering water. You can also refer here for stepwise photos ). Take some roasted and chopped peanuts in a separate bowl.
Ok, now time to decorate! ( the cookies should be cooled completely to room temperature before coating them with chocolate ) First dip the edge of the cookie in the melted chocolate.
 |
 |
 |
9) Then dip the cookie in toasted and chopped peanuts. Place it on a parchment paper until it is set. Repeat with all the cookies ( my daughter helping me in decorating cookies :) )
 |
 |
 |
There you have it, totally irresistible Peanut Butter and Chocolate Cookies!!
Look at the perfect texture...
NOTES:
1) Overworking the cookie dough will yield hard and tough cookies. So, never overwork your cookie dough. Just mix until combined. That's it.
2) Make sure your butter is softened to room temperature, before staring the cookies.
3) Baking time varies from oven to oven, so just keep an eye on them. When the edges start to brown, you can take them out. If you bake them too long they can turn hard. Also, size and thickness of the cookie matters. Thinner cookies bake faster.
4) Here I used dark compound as it sets easier at room temperature.
5) Chilling the cookies before baking ensures that they do not spread much in the oven.
6) Store the cookies in an airtight container for up to 5 days.
If you like Peanut butter and chocolate combo,then you will definitely like my Peanut Butter Chocolate and Banana Sandwich!!
Happy Cooking,
Sindhiya.S


They look totally irresistible!
ReplyDeleteLove the addition of the chocolate and peanuts. They look amazing!!
ReplyDeleteI love that peanut chocolate ring around the cookies.. so yumm!!
ReplyDeletehealthy tasty ookies nice coating of the nuts..
ReplyDeleteCookies are so delicious!!
ReplyDeleteOh these pb cookies look wonderful, Sindhiya. That side coating is making them more desirable. :)
ReplyDeleteAnu
http://www.mygingergarlickitchen.com/
oooohhh last pic picture perfect sis..:) 3 in 1 sis? u r awesome..;) This dish is totally u!!! love the combo! love the pic! It's totally smashing.. wish i had seen the look on ur face wen u did it..:D
ReplyDelete