Mumbai Style Pav Bhaji - A spicy and aromatic mixed vegetable curry served hot with soft Pav ( buns )

This is one of my top most favorite chats. I have been to Mumbai once and the chaats there are sooo good. Like I still can't get over the pani puri that I ate there. In my short visit I couldn't get a chance to try the famous Juhu beach Pav Bhaji.
Later I came across this video taken at a stall in Juhu beach. I gave it a try and was so surprised that it tasted so much better than any of the pav Bhajis I have tasted so far. And Sankar being a more crazy fan of pav bhaji than me finished 3 plates ( yes 3 plates, with homemade pav!!!) the very first time I made this.

Here I have used potatoes, carrot, peas and capsicum. You can also try adding cauliflower and beans. But try not to skip the capsicum. It is one of the main ingredient that boosts the flavour, apart from the homemade Pav Bhaji Masala ( recipe coming soon! )
UPDATE: You can check out my Pav Bhaji Masala Powder recipe here

Prep time: Cook time:
Total time: Yield: 7 or 8 plates
INGREDIENTS:
Potatoes: 4
Carrots: 2
Peas: 1/2 cup
Oil: 1 tbsp
Capsicum: 1 ( small )
Tomato: 1 ( medium size )
GingerGarlic Paste: 1 and 1/2 tsp
Turmeric Powder: 1/8 tsp
Chilli Powder: 1 tsp + 1/2 tsp
Pav Bhaji Masala Powder : 1 and 1/2 tsp + 1 tsp
Salt: to taste
Butter: 1 tbsp
Onion: 1/2 ( finely chopped )
Kasoori Methi: 1 tbsp
Hing: 1/8 tsp
Water: as required
Coriander Leaves: 2 tbsp
Lemon: 1/2
METHOD:
1) Peel and chop the potatoes and carrots and place them in a pressure cooker along with peas. Add 1/4 cup water and salt to taste. Give it a mix and cook until soft ( 1 whistle and 5 minutes sim )
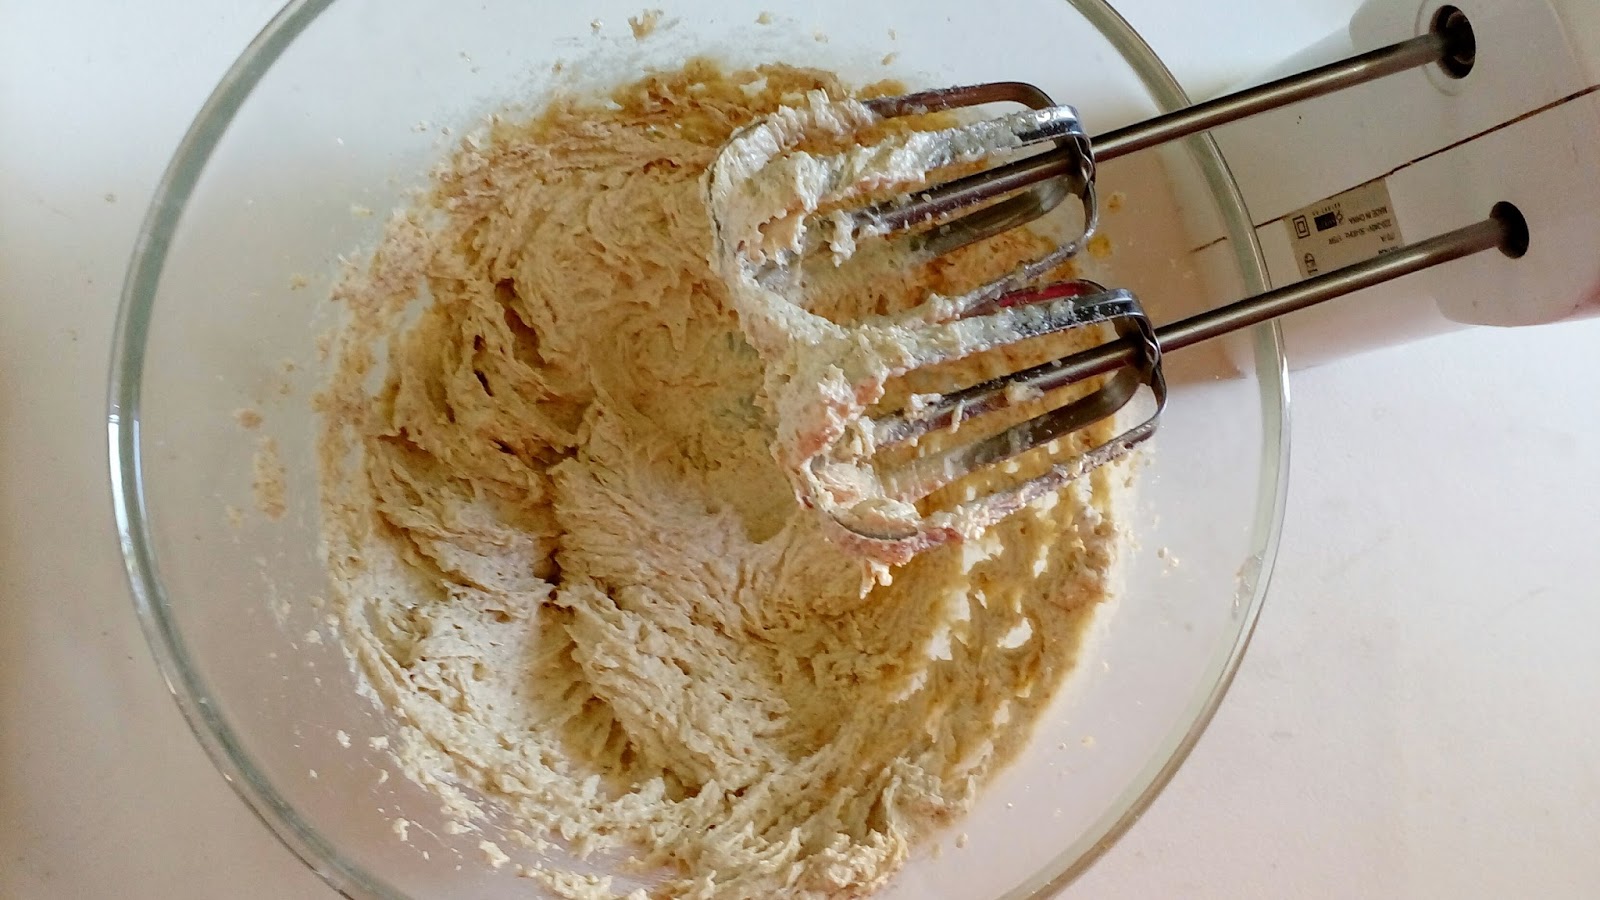
2) After the pressure releases, mash the veggies with a mathu ( or a Potato masher ). No need to make a fine paste, some chunks are good ( just like in the picture below )
3) Heat oil in a kadai, add the capsicum fry for about 30 seconds then add the tomato and fry for a minute. Next add ginger garlic paste and fry until raw smell leaves ( about a minute ). Add 1/4 cup water and cook until little soft.
4) Add the mashed veggies. Now add turmeric powder, salt, 1 tsp chilli powder and 1 and 1/2 tsp Pav Bhaji masala Powder. Give it a mix.
5) Add 1 and 1/2 cups water. Bring it to a boil and then simmer it and cook unitl the oil separates on top and the raw smell leaves. In a separate pan heat butter.
6) Add the chopped onion and fry for a minute. Now add hing, kasoori methi, 1/2 tsp chilli powder and 1 tsp Pav Bhaji masala powder. Mix and fry for a minute in low flame ( don't let it burn! )
7) Add this tempered mix to the vegetable mix. Mix well and cook for 1 to 2 minutes before turning off. Lastly squeeze in lemon juice and add the chopped coriander leaves.
TO SERVE:
1) Slice the pav buns across the middle, but not all the way through ( as shown in picture )
2) Heat some butter in a tawa and toast the pav buns, cut side down until golden brown and crisp!


This is one of my top most favorite chats. I have been to Mumbai once and the chaats there are sooo good. Like I still can't get over the pani puri that I ate there. In my short visit I couldn't get a chance to try the famous Juhu beach Pav Bhaji.
Later I came across this video taken at a stall in Juhu beach. I gave it a try and was so surprised that it tasted so much better than any of the pav Bhajis I have tasted so far. And Sankar being a more crazy fan of pav bhaji than me finished 3 plates ( yes 3 plates, with homemade pav!!!) the very first time I made this.

Here I have used potatoes, carrot, peas and capsicum. You can also try adding cauliflower and beans. But try not to skip the capsicum. It is one of the main ingredient that boosts the flavour, apart from the homemade Pav Bhaji Masala ( recipe coming soon! )
UPDATE: You can check out my Pav Bhaji Masala Powder recipe here
Pav Bhaji Recipe
Mumbai style Pav Bhaji!Prep time: Cook time:
Total time: Yield: 7 or 8 plates
INGREDIENTS:
Potatoes: 4
Carrots: 2
Peas: 1/2 cup
Oil: 1 tbsp
Capsicum: 1 ( small )
Tomato: 1 ( medium size )
GingerGarlic Paste: 1 and 1/2 tsp
Turmeric Powder: 1/8 tsp
Chilli Powder: 1 tsp + 1/2 tsp
Pav Bhaji Masala Powder : 1 and 1/2 tsp + 1 tsp
Salt: to taste
Butter: 1 tbsp
Onion: 1/2 ( finely chopped )
Kasoori Methi: 1 tbsp
Hing: 1/8 tsp
Water: as required
Coriander Leaves: 2 tbsp
Lemon: 1/2
METHOD:
1) Peel and chop the potatoes and carrots and place them in a pressure cooker along with peas. Add 1/4 cup water and salt to taste. Give it a mix and cook until soft ( 1 whistle and 5 minutes sim )
 |
 |
 |
2) After the pressure releases, mash the veggies with a mathu ( or a Potato masher
 |
 |
 |
3) Heat oil in a kadai, add the capsicum fry for about 30 seconds then add the tomato and fry for a minute. Next add ginger garlic paste and fry until raw smell leaves ( about a minute ). Add 1/4 cup water and cook until little soft.
 |
 |
 |
4) Add the mashed veggies. Now add turmeric powder, salt, 1 tsp chilli powder and 1 and 1/2 tsp Pav Bhaji masala Powder. Give it a mix.
 |
 |
 |
5) Add 1 and 1/2 cups water. Bring it to a boil and then simmer it and cook unitl the oil separates on top and the raw smell leaves. In a separate pan heat butter.
 |
 |
 |
6) Add the chopped onion and fry for a minute. Now add hing, kasoori methi, 1/2 tsp chilli powder and 1 tsp Pav Bhaji masala powder. Mix and fry for a minute in low flame ( don't let it burn! )
 |
 |
 |
7) Add this tempered mix to the vegetable mix. Mix well and cook for 1 to 2 minutes before turning off. Lastly squeeze in lemon juice and add the chopped coriander leaves.
 |
 |
 |
TO SERVE:
1) Slice the pav buns across the middle, but not all the way through ( as shown in picture )
 |
 |
 |
2) Heat some butter in a tawa and toast the pav buns, cut side down until golden brown and crisp!
 |
 |
 |
Serve the buttery hot Pav buns with the perfectly spicy Bhaji along with finely chopped onions and a lemon slice...


NOTES:
1) When mashing the vegetables, don't make it into a puree. You need some chunks .
2) You can also serve the pav bhaji with a dollop of butter on top, for extra richness.
3) Adjust the water amount, according to the consistency.
Happy Cooking,
Sindhiya.S
2) You can also serve the pav bhaji with a dollop of butter on top, for extra richness.
3) Adjust the water amount, according to the consistency.
Happy Cooking,
Sindhiya.S