


A perfectly risen classic Vanilla Souffle that is so creamy, light but also rich at the same time just like eating a hot mousse which is full of vanilla flavour!!!

Souffles are so fun at make and eat along with kids. You can just see the wonder and excitement in their face seeing these tall souffles. My daughters just love them:)
Its just like eating a vanilla cloud!! Its not too sweet and its not bland either. You can eat the whole ramekin and still feel light and good, you know! One important thing with souffles is not to overcook them. You want the inside to be creamy and soft like a cloud ( just like the picture above ).

Everyone love a perfectly risen souffle. And this souffle doesn't collapse even for a good 5 minutes. So in this post I am going to give you some tips that I learned after trying many souffles until I finalized with this one.
Firstly preparing the ramekins:
And lastly FOLDING the final mixture:


Prep time: Cook time: 14
Total time: Yield: 3 ramekins ( 150 ml )
Ingredients:
Egg Yolks: 2
Caster Sugar: 2 tbsp + 2 and 1/2 tbsp + for coating ramekins
All Purpose Flour / Maida: 1 tbsp
Milk: 1/2 cup
Butter: 1 tbsp + for brushing ramekins
Vanilla Essence:
1 tsp
Egg Whites: 3
Souffles are so fun at make and eat along with kids. You can just see the wonder and excitement in their face seeing these tall souffles. My daughters just love them:)
Its just like eating a vanilla cloud!! Its not too sweet and its not bland either. You can eat the whole ramekin and still feel light and good, you know! One important thing with souffles is not to overcook them. You want the inside to be creamy and soft like a cloud ( just like the picture above ).

Everyone love a perfectly risen souffle. And this souffle doesn't collapse even for a good 5 minutes. So in this post I am going to give you some tips that I learned after trying many souffles until I finalized with this one.
Firstly preparing the ramekins:
- Make sure the ramekins are completely clean and dry ( wet ramekins cannot be greased properly ).
- With a pastry brush, grease the ramekins using softened butter in upward strokes ( this will help the souffle rise evenly ).
- Coat the ramekins in caster sugar and keep the prepared ramekins in fridge to set ( this will help the butter to solidify ) until ready to use.
Next whipping the egg whites:
- You definitely need an extra egg white in this recipe. I know, I never have much liked recipes that call for an extra egg yolk or egg white. But you have to trust me on this one, You definitely need that extra egg white to give proper structure for your souffle.
- Make sure your bowl and beaters are clean and completely dry so that your egg whites can whip properly.
- While mixing the custard with the whipped egg whites, be very careful. You need the mixture to be homogeneous at the same time you don't want to knock all the air out that.

This is such a fancy dessert with the most basic ingredients. So, what are you waiting for? Come on run to the kitchen and try these at once and let me know how much you liked them:)

Vanilla Souffle
Perfect risen Vanilla Souffle!Prep time: Cook time: 14
Total time: Yield: 3 ramekins ( 150 ml )
Ingredients:
Egg Yolks: 2
Caster Sugar: 2 tbsp + 2 and 1/2 tbsp + for coating ramekins
All Purpose Flour / Maida: 1 tbsp
Milk: 1/2 cup
Butter: 1 tbsp + for brushing ramekins
Egg Whites: 3

METHOD:
1)Whisk egg yolks with 2 tbsp sugar until pale in colour. Mix in the flour.
 |
 |
 |
2) Bring the milk and butter to a simmer ( just when it starts bubbling around the edges ) in a sauce pan. Add some hot milk slowly to the egg mixture, while whisking continuously (This is called tempering the eggs. This is done to slowly raise the temperature of eggs without scrambling them ).
 |
 |
 |
3) Now pour the egg mix back to the sauce pan and place it on low heat, stirring all the time.
 |
 |
 |
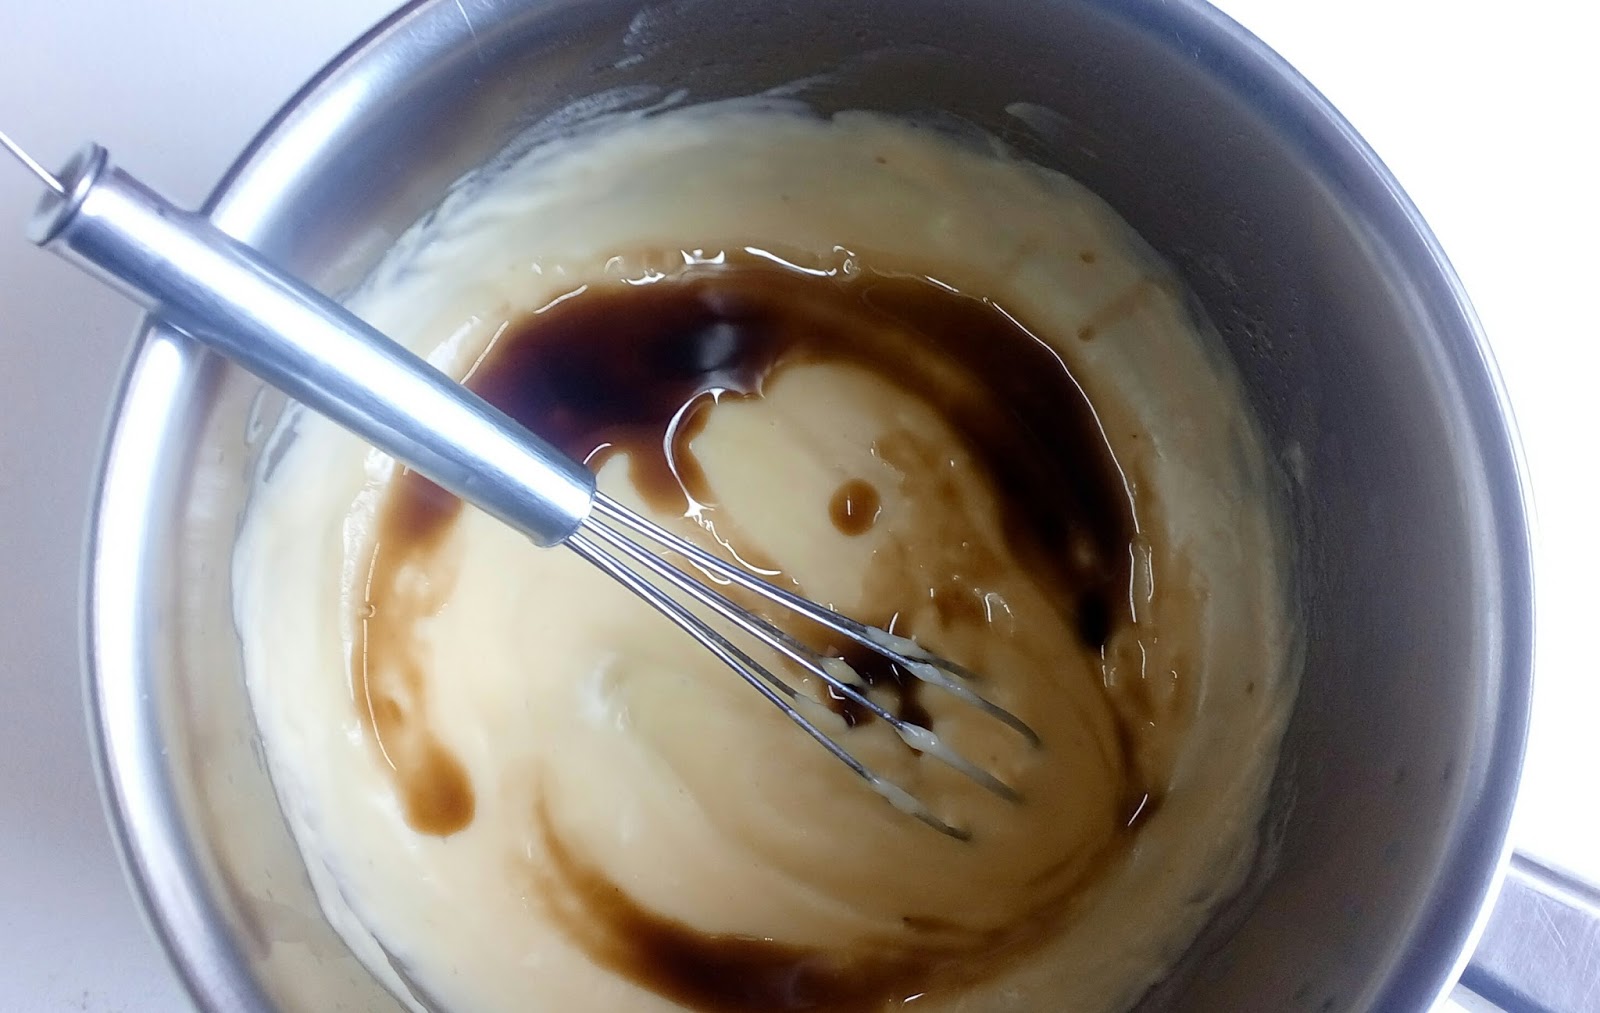
4) The mixture will thicken like a custard ( as shown below ). Remove it from the heat and add the vanilla essence. Mix well and transfer to a separate bowl to cool completely to room temperature.
 |
 |
 |
5) Meanwhile, preheat the oven at 190 C for 10 minutes.
Now, lets ready the ramekins. Brush the insides of the ramekins with softened butter. Use a pastry brush and do upward strokes which will help the souffle rise evenly. Coat with caster sugar and place it in the refrigerator until ready to use.
Take egg whites in a clean and dry bowl.
 |
 |
 |
6) Whip the egg whites until it is foamy. With mixer running on medium speed, slowly add in the remaining 2 and 1/2 tbsp caster sugar. Increase the speed to high and whip until stiff peaks.
Add about 1/3 rd of the whipped egg whites to the cooled down custard and whisk to loosen it up.
 |
 |
 |
7) Now add the loosened custard to the whipped egg whites and FOLD gently with a spatula until everything is mixed evenly ( remember to fold carefully without knocking out too much air ).
 |
 |
 |
8) Fill the ramekins until they are 3/4 th full. Tap them gently so that they fill out evenly. Then fill them to the rim. Scrape off the excess with an offset spatula / knife. Run a clean cloth / finger around the edges as shown in the picture below.
Bake in a preheated oven at 190 C in the middle rack for 13 to 15 minutes or until fully risen and the top is golden brown.
 |
 |
 |
Serve immediately. Optionally, you can dust the top with powdered sugar just before serving...

There you have it, a classic Vanilla Souffle perfectly done!!

Recipe reference: Eugenie Kitchen and Gordon Ramsay
NOTES:
1) Always serve the souffles immediately, right out of the oven.
2) If you don't have a hand beater, you can definitely use a whisk to make this recipe. It will take a little time longer, but the results will be the same - you will get a perfect souffle, no matter what.
3) Do check out the tips at the beginning of the post.
If you loved this souffle, then most definitely you will also love our Creme Caramel

Happy Cooking,
Sindhiya.S


