Passion

The art of classic cooking

Sunday, 11 January 2015

Eggless Dates Cake

Eggless Dates Cake


Dates Cake - This is the cake I baked for my Neha's 2nd birthday. This is the cake that was enjoyed by my SIL who never likes any other flavour other than chocolate when it comes to cakes and ice cream. And to top it all, my hubby liked it. He doesn't like cakes at all. Even in a party, he just takes a small piece unlike me where I will be gobbling :) To get a thumbs up from him means this is a winner recipe!!!
Some cakes are enjoyed by selected people only. For instance, Chocolate cakes are so special for chocolate lovers like me...But this cake is so special....It will be loved by everyone. In Our family ( where most of them enjoy different taste ) this is one of the dishes that is liked by all.
The buttery flavour and the richness that comes from milkmaid ,with just enough sweetness can win anyone's heart. The walnuts add little crunch and the date pieces tie all the different flavours together. Even without any icing you will be having a really hard time to stop you from grabbing the next piece.

Eggless Dates Cake


Eggless Dates Cake Recipe

Eggless Dates Cake
Soft, Rich and Moist Dates Cake with nice little crunch from Walnuts.
Prep time:
Cook time:
Total time:
Yield: 1 8 * 8 pan ( 16 squares )
Ingredients:
All Purpose Flour - 2 cups + for dusting the pan
Baking Powder - 1 tsp
Baking Soda - 2 tsp
Salt - 1/4 tsp
Butter - 3/4 cup ( room temperature )
Oil - 1/4 cup + for greasing
Milkmaid - 1 tin ( 400 g )
Powdered Sugar - 5 tbsp
Vanilla essence - 1 tbsp
Milk - 1 cup
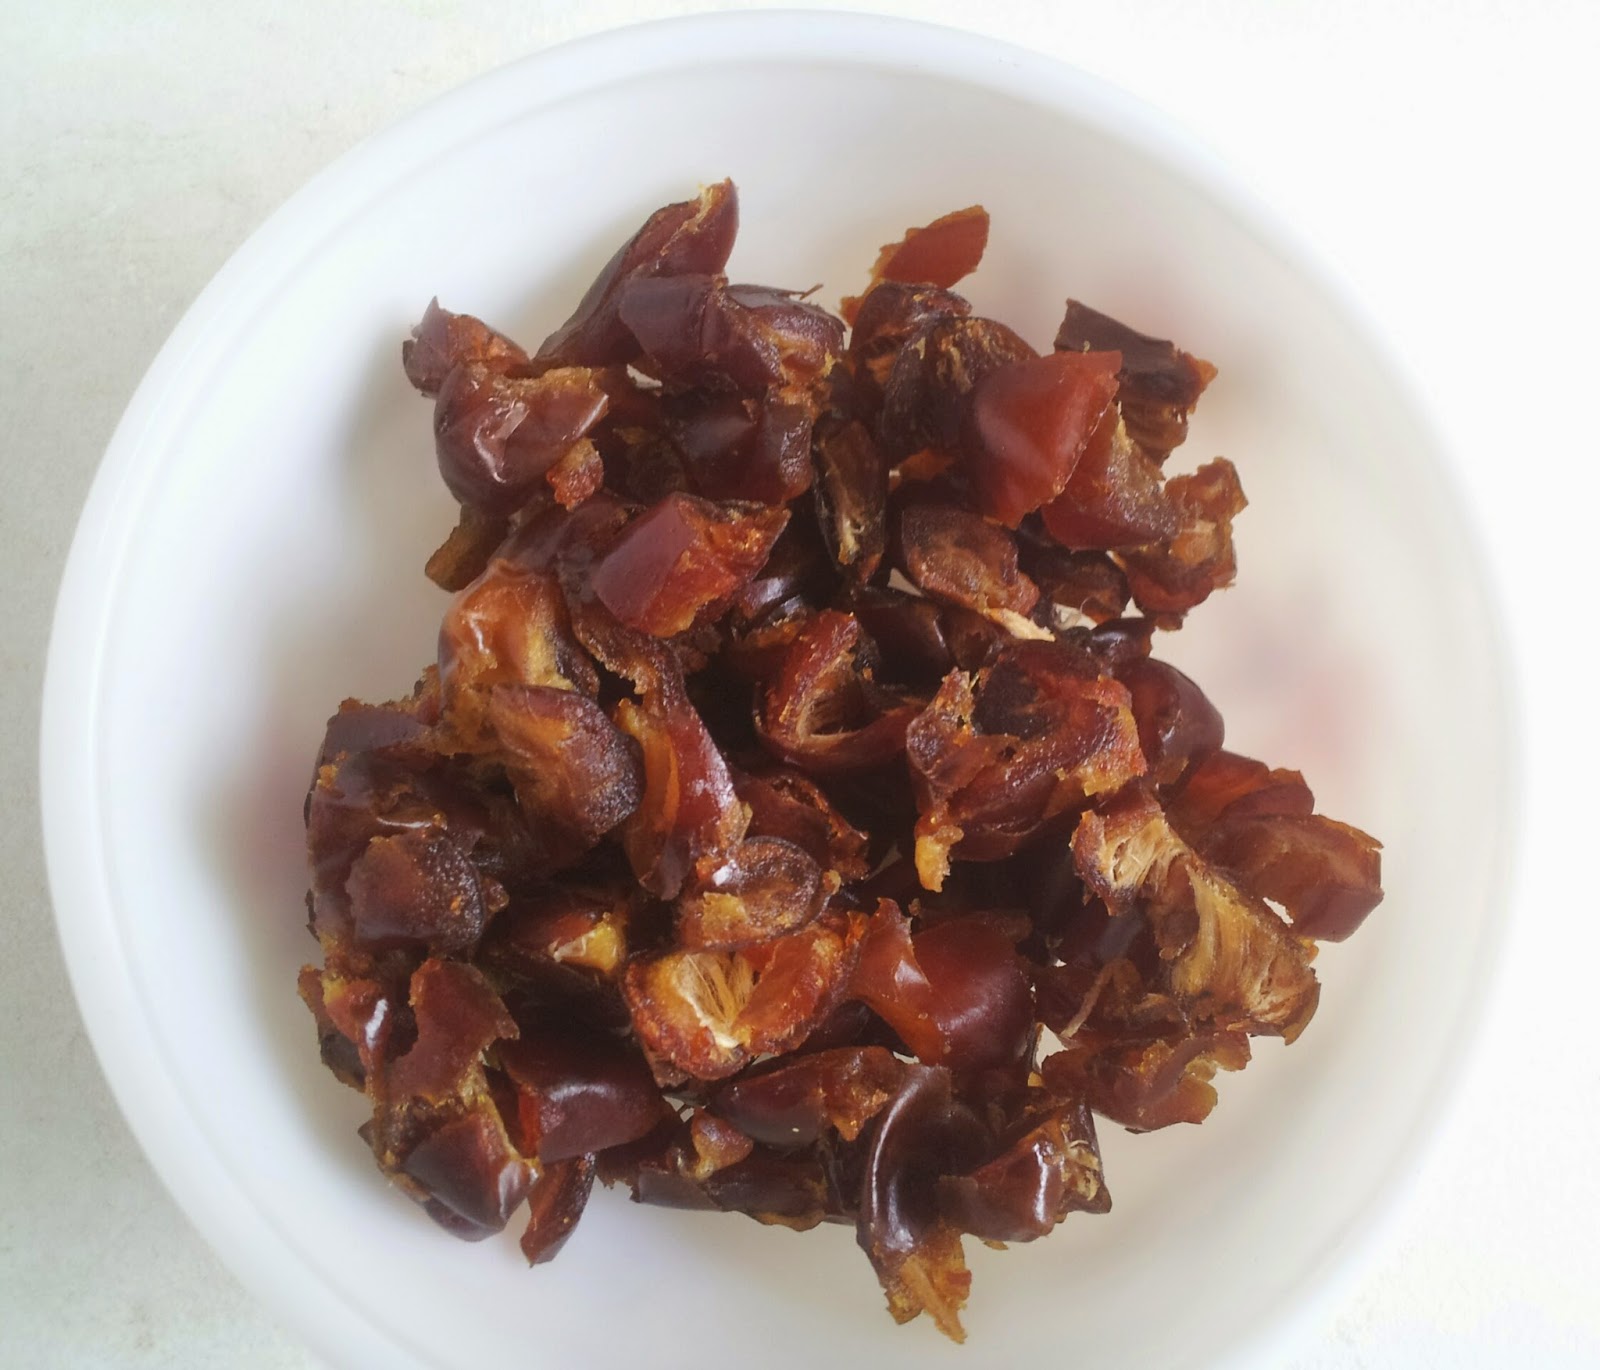
Dates - 15 ( finely chopped )
Walnut - 1/3 cup
METHOD:
1) Preheat oven to 190 C for 10 minutes. Sieve flour, baking powder and baking soda and keep in a bowl. Add salt to it and mix well ( As my sieve is super fine, I don't sieve salt together with the rest of dry ingredients ) Keep this aside.
pic name pic name pic name
2) Add 1 tbsp flour to the chopped dates. Mix well and keep that aside. ( This ensures that the dates distributes evenly in the batter )  In a separate bowl take room temperature butter.
pic name pic name pic name
3) Beat the butter until light and creamy ( about a minute ). Then add the powdered sugar and beat until fluffy ( about 1 to 2 minutes ) Next add the condensed milk.
pic name pic name pic name
4) Add the oil and vanilla essence and beat lightly until all gets mixed together. Now in batches, alternatively add the dry ingredients and milk starting and ending with dry ingredients ( this step ensures that the batter stays creamy without curdling )
First mix 1/3 rd of the dry ingredients ( From this point you can beat lightly with your beater or just use your spatula to mix )
pic name pic name pic name
5)  Add 1/2 cup milk beat once, followed by the next 1/3 rd of the dry ingredients. Mix in the remaining 1/2 cup milk.
pic name pic name pic name
6) Finally add the last 1/3 rd batch of dry ingredients and mix until all gets incorporated. Take care not to over mix or over beat the batter. Fold in the dates and walnuts ( reserve some walnuts for topping )
pic name pic name pic name
7) Pour the batter in the prepared ( greased with oil / butter and dusted with flour) baking pans. Bake at 190 C for 40 to 45 minutes or until a toothpick inserted at the centre comes out clean. My 8 x 6 pan was not enough to hold the whole batter, so I used to muffins pans too. The Muffins were ready in 22 minutes.
pic name pic name pic name

That's it .... Dates cake is ready to enjoy!!

Eggless Dates Cake

NOTES:
1) You can replace half of the all purpose flour with whole wheat flour too. My SIL has made this cake with 100% whole wheat flour too ( The taste was very good but slightly different flavour ) Try the one which you will like.
2) Make sure your butter is at room temperature.
3) Don't beat the batter at high speed while adding dry ingredients.
4) The final batter should be very creamy.
5) Don't skip the walnuts as they add very nice texture to the cake.
6) Don't let the final batter let standby, bake immediately.

Eggless Dates Cake

Sending this to Nupur's What's with my cuppa?? event

Cheers, 
Sindhiya.S
Read More »

Monday, 5 January 2015

Chicken 65 Biryani

I love biryani and Chicken 65 biryani is my top most favorite. For every other biryani, I definitely require a side dish but not for this one. It is too good on its own.  And here I have to mention one thing about my SILs, though I love to eat biryani soooo much, I never learned to do it mainly because whenever my 3 SILs visit us or if I visit them, they will do their style biryani for me ( yes!! specially for me :) ) Even after I learned from them, during their visits biryani is always done by them. They will say "I will do, you just enjoy it hot!!" Yep, thats how I like my biryani very hot straight from the stove ( aavi paraka!! ) Love my SILs :)

Chicken 65 biryani

This Chicken 65 Biryani was introduced to me by 3rd SIL Gomathi. You may think whats so special about adding chicken 65 pieces to a biryani?? But trust me it is special!!! Somehow the chicken 65 pieces combined with this biryani masala makes it so awesome. Normally where chicken pieces in biryani are left back, here people will be hunting for some more :) OK now without any further ado onto the recipe...
Chicken 65 biryani

You can check out my Chicken 65 recipe here

INGREDIENTS:
Chicken 65 pieces - 3/ 4 kg
Seraga Samba rice - 2 1/2 cups
Water - 5 cups
Onion - 3 ( sliced )
Tomato -1 ( small )
Green Chilli - 9 ( 5+4)
Shallots - 3/4 cup
Ginger Garlic Paste - 1 tbsp
Coriander Leaves - 1 handful ( finely chopped )
Mint leaves - 20 ( finely chopped )
Oil - 2 tbsp
Ghee - 1 tbsp
Bay Leaf - 2
Chilli Powder - 1 tsp
Salt - to taste
To Grind:
Fennel Seeds - 1 tbsp
Cashew - 5
Kasa kasa ( poppy seed ) - 1 tsp
Cinnamon - 1 1/2" stick
Cloves - 2
Cardamom - 1
Coconut - 1 small piece ( as shown in pic )
METHOD:
1) Grind all the ingredients under the title To Grind  to a smooth paste. I used my ammi ( grinding stone ) you can use your mixer too.
pic name pic name pic name

2) Pulse the shallots and 5 green chilli just once or twice ( here a gain I used my ammi, you can do it in your mixer ) No need to do a fine paste ( refer picture ) Wash and soak the rice in water for 10 to 15 minutes.
pic name pic name pic name

3) Drain the rice and keep it aside. In a pressure cooker, Heat oil and ghee and toss the bay leaf ( I normally tear it before tossing in oil to get maximum flavour ) Add in the onions and fry for about a minute. Add the pulsed onion and green chilli mixture.
pic name pic name pic name

4) Add the remaining 4 green chilli ( slit vertically ) Fry for a minute and add the ginger garlic paste and fry till the raw smell leaves. Next add the tomato and fry till it turns mushy.
pic name pic name pic name

5) Add the ground masala and fry for 1 - 2 minutes and add the chilli powder. Next add the chopped coriander and mint leaves and mix well.
pic name pic name pic name

6) Finally add 5 cups water. After it comes to a boil add the drained rice.
pic name pic name pic name

7) When the rice is more than 50 % cooked ( refer above picture ) add the chicken pieces and mix well. Close the pressure cooker without the whistle.
pic name pic name pic name

8) When the steam starts to come out put on the whistle and keep it in the lowest flame for 10 minutes. Then transfer the cooker to a heated tawa for 10 more minutes in the lowest flame.
pic name pic name pic name

After the pressure releases enjoy your super hot and super tasty Chicken 65 Biryani!!!!

Chicken 65 biryani


NOTES:
1) For Chicken 65, you can use ready made masala or prepare yourself. I have tried both the versions and both are so good. Here I used homemade version which I will post soon.
2) Normally for biryani we use 1 : 1.5 ratio for rice and water. But here in this biryani it is 1:2 which is totally perfect for this biryani. I have tried the same biryani with 1:1.5 ratio too but liked the former better.
3) Using this tawa method totally works for me, there is no burnt rice at the bottom :)
4) You can also use basmati rice instead of seraga samba rice.

Chicken 65 biryani

Check out the Blogging Marathon page for the other Blogging Marathoners doing BM#48

Cheers,
Sindhiya.S
Read More »